 Save to Pinterest
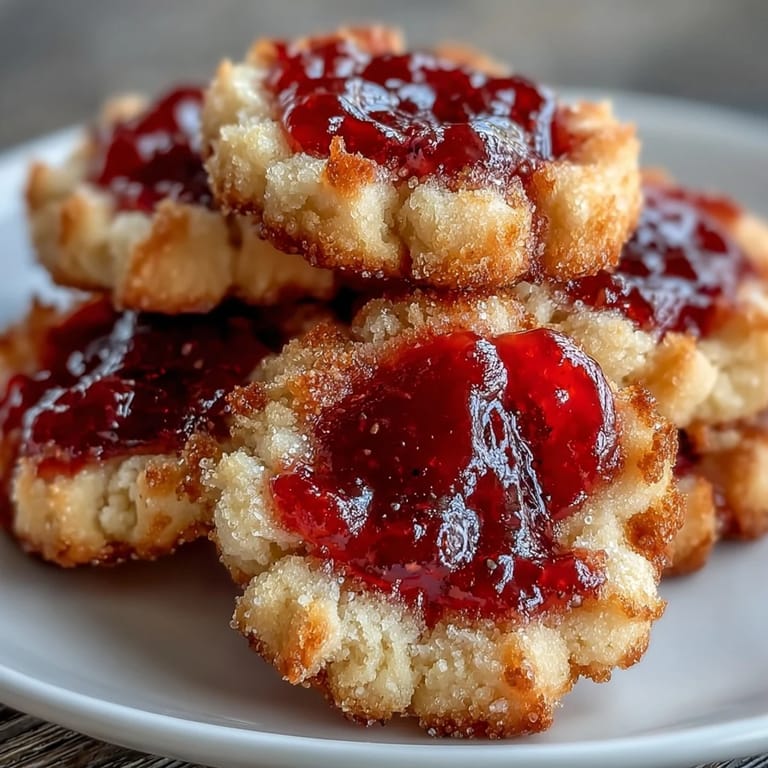
 My sister texted me a photo of a picnic blanket spread across a sunny field, and I immediately thought of these thumbprint cookies. There's something about the simplicity of pressing your thumb into warm dough that makes you feel like you're part of something timeless. I'd never made them before, but the recipe seemed almost too easy to resist, and the promise of those little pockets of jammy sweetness had me heading to the kitchen within the hour. The butter alone smelled like summer, and by the time I pulled the first batch from the oven, I knew I'd be making these again and again.
I brought two dozen of these to my neighbors' house for a summer cookout, and within ten minutes, they'd all vanished from the dessert table. Someone asked for the recipe on a napkin while their hands were still sticky with jam, which felt like the highest compliment a baker could receive. Watching people's faces light up when they bit into that buttery cookie and hit the sweet strawberry center made every thumbprint worth pressing.
Ingredients
- Unsalted butter, softened: Use room temperature butter so it creams smoothly with the sugar and won't leave you with a grainy texture.
- Granulated sugar: This is what gives the cookies their slight sweetness and that delicate, tender crumb.
- Pure vanilla extract: A small amount goes a long way, and it adds a warmth that quietly complements the jam without overpowering it.
- Salt: Never skip this, because it balances the sweetness and makes the butter flavor shine through.
- All-purpose flour: Measure by spooning into your measuring cup and leveling off to avoid packing it down and ending up with dense cookies.
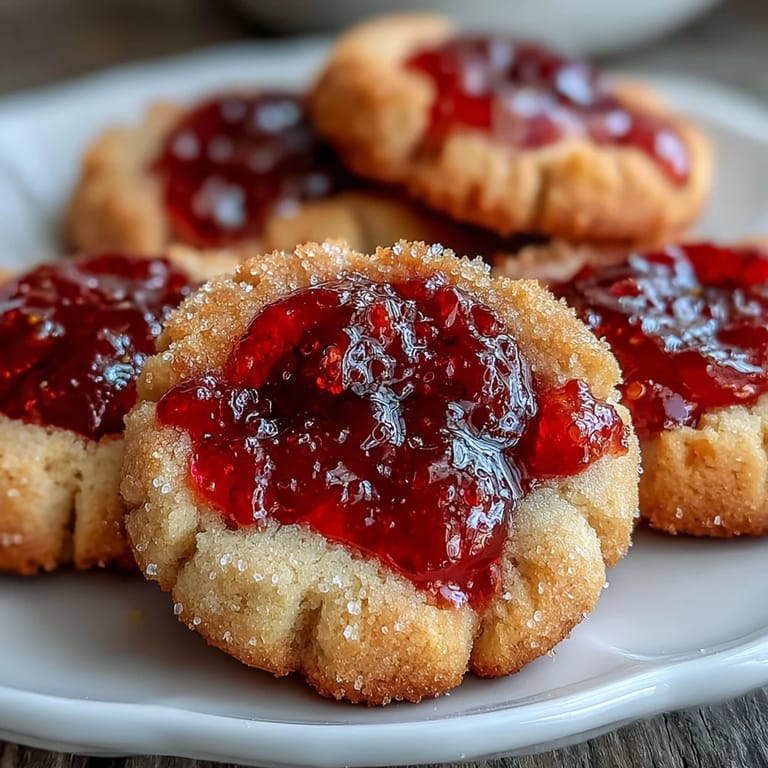
- Strawberry jam, seedless preferred: Seedless jam spreads more smoothly into those little indentations, and the flavor stays bright and fresh.
- Powdered sugar for dusting: This is optional but transforms the cookies into something that looks like you spent hours on them when you really didn't.
Tired of Takeout? 🥡
Get 10 meals you can make faster than delivery arrives. Seriously.
One email. No spam. Unsubscribe anytime.
Instructions
- Preheat and prepare:
- Set your oven to 350°F and line two baking sheets with parchment paper so you're ready to go when the dough is shaped.
- Cream the butter and sugar:
- Beat them together for about two to three minutes until the mixture looks pale and fluffy, like you've captured a cloud. This step is worth the time because it aerates the dough and makes the cookies tender.
- Add the vanilla and salt:
- Mix these in gently, letting them distribute evenly throughout the butter mixture.
- Fold in the flour:
- Add it slowly and stop mixing as soon as you see no white streaks, because overworking this dough will make your cookies tough. The dough should feel soft and pliable, not stiff.
- Shape into balls:
- Scoop out tablespoon-sized portions and roll them between your palms until they're smooth. Space them about two inches apart on your baking sheets because they'll spread slightly.
- Make the indentations:
- Use your thumb or the back of a small rounded teaspoon to press a gentle pocket into the center of each ball. Don't go all the way through to the bottom, just enough to hold the jam.
- Fill with jam:
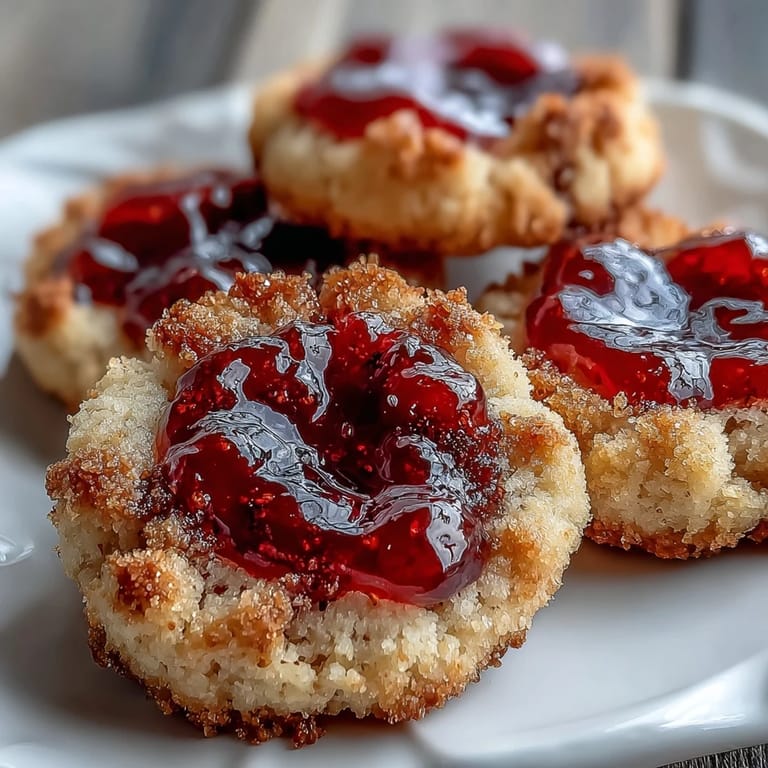
- Drop about half a teaspoon of jam into each indentation, watching as the red jammy color creates a beautiful contrast against the pale dough.
- Bake until golden:
- Slide them into the oven for thirteen to fifteen minutes, watching until the edges turn a light golden brown while the centers stay soft. The cookies will firm up as they cool, so don't overbake them or they'll lose that tender quality.
- Cool and finish:
- Let them sit on the baking sheet for five minutes to set, then transfer them to a cooling rack. Once they're completely cool, dust with powdered sugar if you'd like that finishing touch.
 Save to Pinterest
 There's a memory I have of my grandmother watching me make these in her kitchen, nodding quietly as I pressed each thumbprint, and then later seeing her press them the exact same way when she made them on her own. It felt like passing something down, even though it was just a simple cookie, and that moment changed how I think about sharing recipes.
Why These Cookies Travel Well
The shortbread base is sturdy enough that these cookies hold up beautifully in a picnic basket or even a road trip cooler, unlike more delicate cookies that crumble at the slightest jostle. They don't require refrigeration, and the jam center actually keeps them from drying out as quickly as plain cookies would. I've packed them in mason jars, wrapped them in parchment, and even brought them on overnight trips, and they've never disappointed me.
Flavor Variations to Try
Once you've mastered the basic version, the fun really begins because this dough takes to any jam you want to experiment with. Raspberry gives a slightly tart edge, apricot brings a more muted sweetness, and even fig jam creates something unexpected and sophisticated. I've also played around with lemon curd and a blackberry preserves that had whole berries, and each variation felt fresh without requiring any changes to the actual cookie dough.
Storage and Serving Tips
These cookies stay fresh in an airtight container at room temperature for up to four days, though let's be honest, they rarely last that long in most homes. I like to layer them between parchment paper in a tin so they don't get smudged or crushed, and they're equally delicious straight from the container or paired with cold milk or tea. If you want to get ahead, you can even freeze the shaped, unfilled dough balls for up to two weeks and bake them fresh whenever the craving hits.
- Store cooled cookies in an airtight container separated by parchment paper to prevent sticking.
- Dust with powdered sugar right before serving for the most pristine, elegant appearance.
- These are the perfect cookie to double or triple the batch because they freeze beautifully and disappear just as quickly as you can make them.
 Save to Pinterest
 There's something deeply satisfying about baking cookies that look homemade in the best possible way, the kind that make people forget about fancy bakeries for just a moment. These thumbprint cookies have become my go-to gift, my picnic staple, and honestly, my reason to preheat the oven on lazy Saturday afternoons.
Recipe FAQs
- → What gives these cookies their buttery texture?
The rich butter content creamed with sugar creates a tender, crumbly shortbread texture that melts in your mouth.
- → Can I use other types of jam for the filling?
Yes, raspberry or apricot jams are great alternatives that provide different fruity flavors while keeping the same delightful texture.
- → How can I prevent the cookies from spreading too much during baking?
Chilling the shaped dough balls for 15 minutes before baking helps firm them up and reduces spreading for a thicker cookie.
- → What is the best way to shape the dough for the jam center?
Roll dough into tablespoon-sized balls, then use your thumb or the back of a teaspoon to gently press an indentation for the jam filling.
- → How long should the cookies cool before serving?
Allow cookies to cool on the baking sheet for about 5 minutes, then transfer to a wire rack to cool completely for the best texture.