 Save to Pinterest
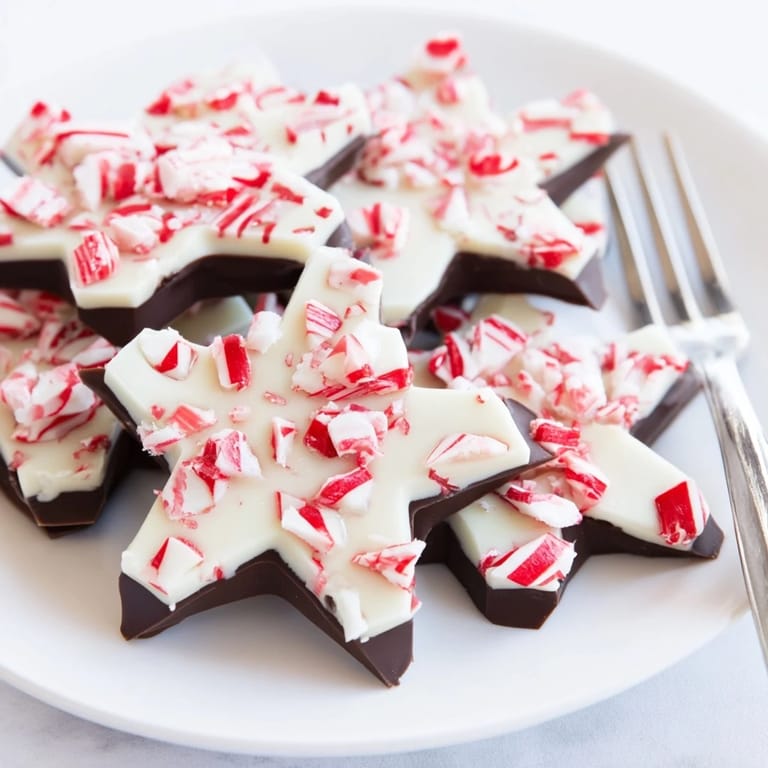
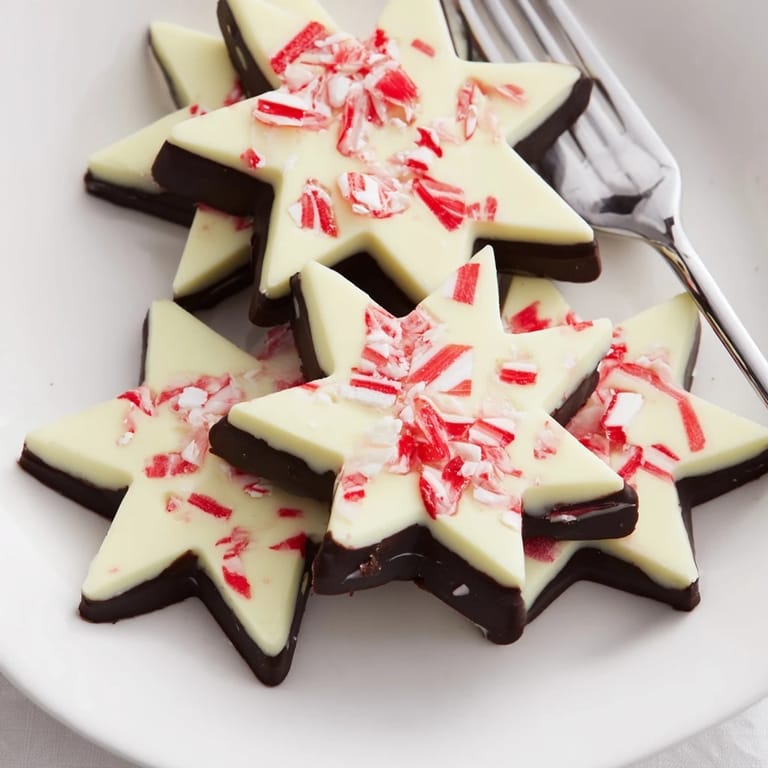
 A festive, minty-sweet treat featuring layers of rich chocolate and creamy white chocolate, topped with crunchy peppermint candy, shaped into charming snowflakes& perfect for holiday gifting or parties.
I have always enjoyed making peppermint bark during the winter season& these snowflake shapes add a charming festive touch.
Ingredients
- Chocolate Layers: 200 g (7 oz) semi-sweet or dark chocolate, chopped and 200 g (7 oz) high-quality white chocolate, chopped
- Peppermint Topping: 6 peppermint candy canes or hard peppermint candies, crushed (about 1/2 cup)
- Optional: 1/2 tsp peppermint extract (for extra minty flavor)
Tired of Takeout? 🥡
Get 10 meals you can make faster than delivery arrives. Seriously.
One email. No spam. Unsubscribe anytime.
Instructions
- Step 1:
- Line a baking sheet with parchment paper or prepare 12 silicone snowflake molds.
- Step 2:
- Melt the semi-sweet/dark chocolate in a microwave-safe bowl in 30-second intervals, stirring between each, until smooth. (Alternatively, use a double boiler.)
- Step 3:
- If using, stir in 1/4 tsp peppermint extract to the melted dark chocolate.
- Step 4:
- Pour the melted chocolate into the molds or spread evenly in a 1/4-inch thick layer on the prepared baking sheet. Tap gently to level.
- Step 5:
- Refrigerate for 15 minutes, or until set.
- Step 6:
- Melt the white chocolate in a clean bowl using the same method. Stir in 1/4 tsp peppermint extract if desired.
- Step 7:
- Pour the melted white chocolate over the set dark chocolate layer, spreading evenly with an offset spatula.
- Step 8:
- Immediately sprinkle the crushed peppermint candies over the white chocolate, pressing lightly to adhere.
- Step 9:
- Refrigerate for at least 15 minutes, or until fully set.
- Step 10:
- Remove from molds or break into snowflake pieces. Store in an airtight container in a cool place.
 Save to Pinterest
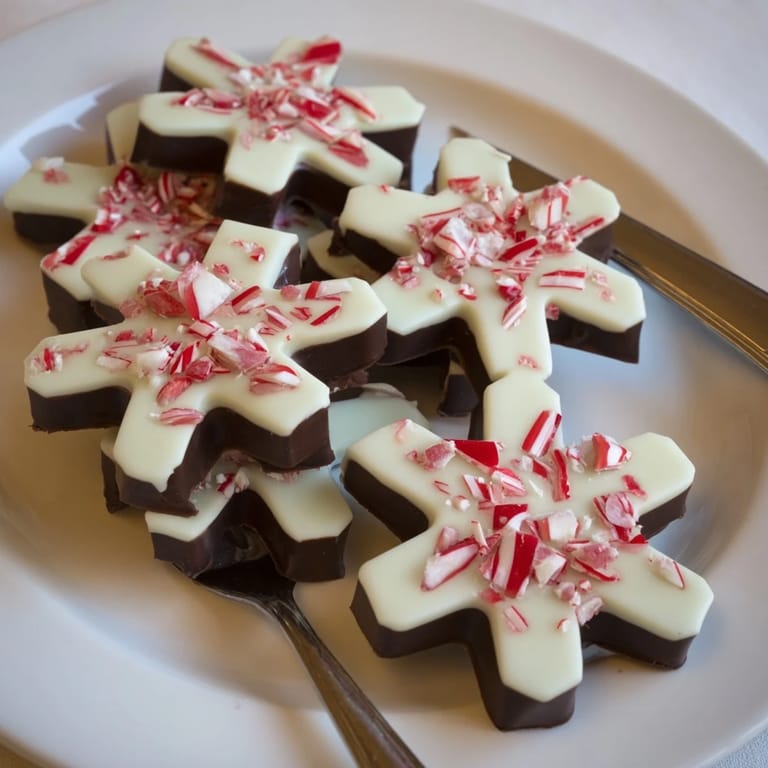
 My family loves gathering around during the holidays and sharing these peppermint bark snowflakes, creating warm memories.
Notes
For best results, use high-quality chocolate bars rather than chocolate chips. To create classic bark instead of snowflakes, simply use a baking sheet and break into shards once set. For a decorative touch, drizzle with extra melted chocolate before chilling. Pair with hot cocoa or peppermint tea for a festive treat.
Required Tools
Mixing bowls, microwave or double boiler, silicone snowflake molds or baking sheet with parchment, small offset spatula, spoon or spatula.
Allergen Information
Contains Milk (in chocolate), Soy (in some chocolates). May contain traces of nuts (check chocolate labels). Gluten-free if using gluten-free chocolate and candies. Always verify candy and chocolate labels for allergens.
 Save to Pinterest
 Enjoy these peppermint bark snowflakes as a delightful holiday treat that’s as beautiful as it is tasty.
Recipe FAQs
- → What type of chocolate is best for this treat?
High-quality semi-sweet or dark chocolate and white chocolate bars work best to ensure smooth melting and rich flavor.
- → Can peppermint extract be skipped or substituted?
Yes, peppermint extract is optional. It adds extra minty flavor but the crushed peppermint candies provide sufficient taste if omitted.
- → How should the layers be cooled between steps?
Refrigerate each chocolate layer for about 15 minutes to allow it to set firmly before adding the next layer or topping.
- → What tools are recommended for shaping the snowflakes?
Silicone snowflake molds provide the best shape, but a lined baking sheet can be used for a classic bark look, broken into pieces after setting.
- → How should these treats be stored?
Store in an airtight container in a cool place to maintain texture and keep the peppermint topping crisp.
- → Are these treats gluten-free?
Yes, if gluten-free chocolate and peppermint candies are used, these snowflakes are suitable for a gluten-free diet.