Save to Pinterest
 There's something almost meditative about transforming kitchen scraps into liquid gold—those vegetable peels and celery ends that would normally hit the compost bin suddenly become the foundation of something nourishing. My kitchen got quieter during the pandemic, and that's when I started saving every onion skin and carrot peel, letting them accumulate in a bowl on the counter like I was collecting treasure. One quiet afternoon, I decided to simmer them all together, and the smell that filled my apartment felt like I'd unlocked a secret the whole time.
I made this broth for my neighbor one winter when she was sick, filling a mason jar with the warm liquid and watching her face change when she tasted it—not fancy, just honest and deeply comforting. She asked what was in it, and I loved admitting it was mostly things I would have thrown away. That's when it clicked for me that this recipe isn't about ingredients, it's about intention.
Ingredients
- Vegetable Scraps (4 cups): This is where kitchen wisdom meets zero-waste cooking—carrot peels, onion skins, celery ends, leek tops, mushroom stems, and parsley stems are all golden here, but avoid potato peels and cruciferous vegetables like broccoli or cabbage as they can turn bitter.
- Bay Leaf (1): Just one leaf carries so much subtle flavor, grounding the broth with an herbal note that makes everything taste intentional.
- Black Peppercorns (5–7): Whole peppercorns release their warmth slowly during simmering, adding complexity without any harshness you'd get from pre-ground pepper.
- Garlic (2 cloves, crushed, optional): Crushing the cloves lets their essence mingle with everything else, adding a gentle savory depth.
- Salt (1 teaspoon, optional): Start with less than you think you need—you can always taste and adjust, especially if you're using this broth in other recipes that already have salt.
- Fresh Thyme (1 sprig or 1/2 teaspoon dried): Thyme is optional but it whispers rather than shouts, adding an earthy grace to the whole pot.
- Cold Water (8 cups): Starting cold helps all the flavors release gently instead of shocking the vegetables into submission.
Tired of Takeout? 🥡
Get 10 meals you can make faster than delivery arrives. Seriously.
One email. No spam. Unsubscribe anytime.
Instructions
- Save Your Scraps Wisely
- Collect your clean vegetable trimmings in a bowl as you cook—this is the easiest step because it requires nothing but awareness. Think of it as paying attention to what you'd normally discard, and you're already halfway to something wonderful.
- Build Your Base
- Pile your scraps into a large stockpot with the bay leaf, peppercorns, crushed garlic, salt, and thyme, as if you're gathering friends around a table. Everything should feel loose and unhurried in the pot.
- Cover Everything with Water
- Pour in the cold water until all your scraps are submerged, then take a moment to look at what you've assembled. This humble collection is about to become something you'll use again and again.
- Bring to Life Over Heat
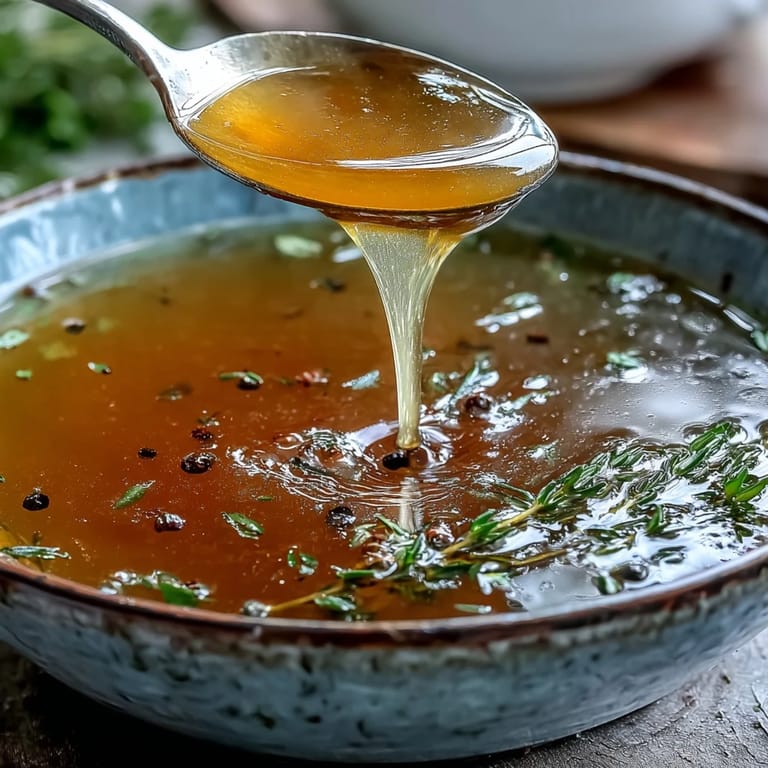
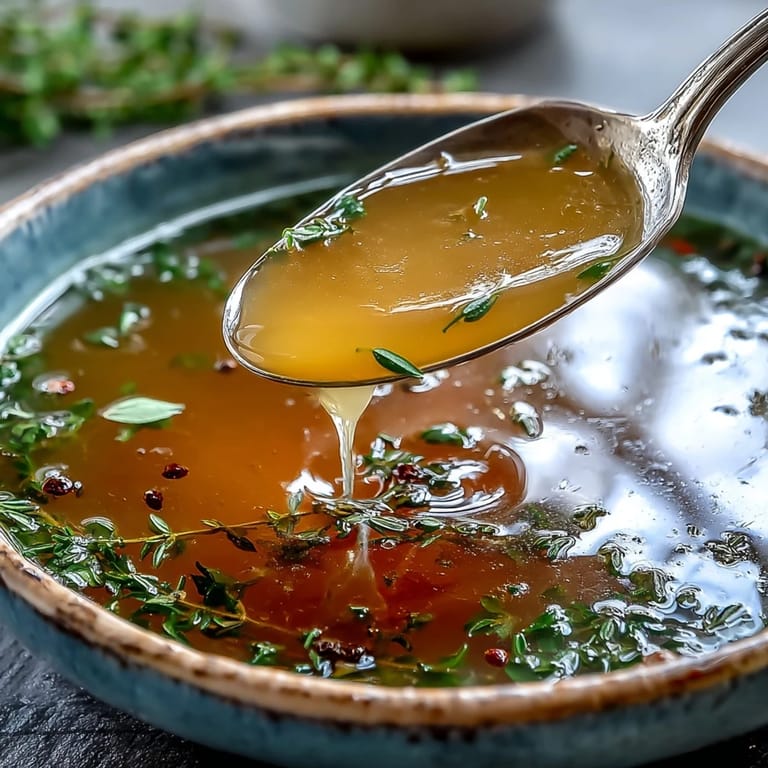
- Turn the heat to medium-high and let the pot come to a boil—you'll see the water transform from clear to amber-colored. The moment it starts rolling, reduce the heat to a gentle simmer where bubbles barely break the surface.
- Simmer and Listen
- Let everything bubble quietly for 45 to 60 minutes, occasionally skimming off any foam that rises to the top with a spoon or ladle. The house will smell like comfort, and you'll know it's working by the depth of color in the pot.
- Taste and Trust Your Palate
- After an hour, dip a spoon in and taste—this is where you claim ownership of the recipe. Add a pinch more salt or a grind of pepper if it needs it.
- Strain with Patience
- Pour the broth slowly through a fine-mesh sieve or cheesecloth into a clean container, letting gravity do the work. Press gently on the solids with the back of a spoon to coax out every bit of flavor, then let them go.
- Cool Before Storing
- Let the broth cool to room temperature before transferring to airtight containers—it will keep in the refrigerator for up to five days or frozen for three months. Each time you use it, you'll remember the afternoon you made something from nothing.
 Save to Pinterest
 There was a moment last winter when I was making soup and realized I had no store-bought broth in the freezer, but I had a jar of my own broth sitting there instead—and somehow that felt like I'd learned something important about self-reliance and cooking without fear. The soup turned out better than I expected, and more importantly, I felt connected to every vegetable that had gone into making it.
When to Roast Your Scraps
Roasting changes everything if you want a deeper, more complex broth that tastes like it took hours to make when really you've just added one extra step. Spread your scraps on a baking sheet, toss them lightly with a bit of oil if you have it, and let them caramelize in a 400°F oven for about twenty minutes until they're golden and fragrant. The Maillard reaction—that browning magic—creates flavors that straight simmering can never reach, and it's the kind of small effort that feels worth it when you taste the result.
Building Umami Depth
If you want to push your broth into territory that tastes almost luxurious, add a small piece of kombu or a handful of dried mushrooms to the pot while it simmers. I learned this trick from an older cook who said that a little umami is like adding a whisper of salt everywhere—it makes people lean in closer to taste what you've made because something about it feels complete. You don't need much, just enough to add savory depth without announcing itself.
Using Your Broth Beyond Soup
The magic of homemade broth is that it becomes the secret ingredient in everything from risotto to grains to the simple act of sipping it warm from a mug when you need comfort. I've learned that cooking with your own broth changes how you think about food—suddenly a pot of rice becomes an intentional meal instead of a side dish, and broth transforms from something incidental into something you look forward to making. Some of my best cooking moments came from respecting what this simple liquid could do.
- Use it to cook grains like rice, quinoa, or farro for layers of flavor that store-bought broth can't deliver.
- Sip it warm with a pinch of salt on mornings when you need something honest and grounding.
- Start soups, braises, and stews with it as your foundation, and everything that follows will taste more intentional.
 Save to Pinterest
 Every time I open my freezer and see a jar of my own broth, I feel a small sense of pride—not in a boastful way, but in the quiet knowledge that I'm using my kitchen more thoughtfully. This broth is proof that the best ingredients are often the ones we almost threw away.
Recipe FAQs
- → What vegetable scraps work best?
Carrot peels, onion skins, celery ends, leek tops, mushroom stems, parsley stems, and garlic skins work beautifully. Avoid potato peels, brassicas, and overly starchy vegetables as they can cause bitterness or cloudiness.
- → How long can I store the broth?
Refrigerate in airtight containers for up to 5 days, or freeze for up to 3 months. Consider freezing in ice cube trays for easy portioning when you need small amounts for cooking.
- → Can I make this more flavorful?
Roast the vegetable scraps at 200°C (400°F) for 20 minutes before simmering to develop deeper, caramelized flavors. Adding kombu or dried mushrooms also enhances the umami profile.
- → Should I add salt?
Add salt sparingly or omit it entirely, especially if you plan to use the broth in other dishes. This allows you to control the sodium level in your final preparations. Season to taste when serving.
- → What can I use this broth for?
Use as a base for soups, stews, and sauces. Substitute for water when cooking grains like rice or quinoa. Add depth to risottos, or simply enjoy warm as a nourishing, sippable beverage.
- → How do I know when it's done?
Simmer for 45–60 minutes until the liquid has developed a rich color and aromatic flavor. Taste and adjust seasoning if needed before straining through a fine-mesh sieve or cheesecloth.