 Save to Pinterest
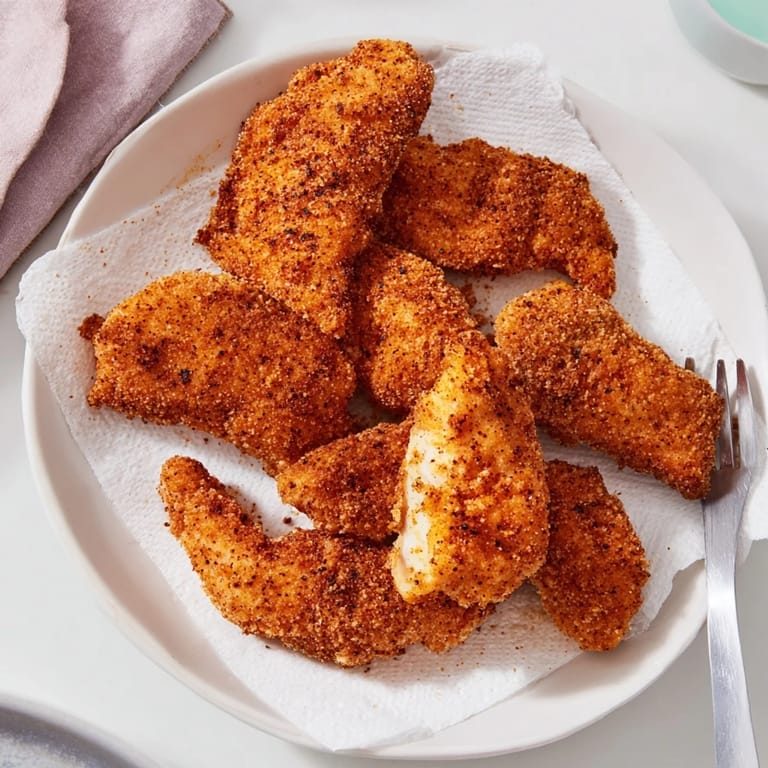
 The smell of frying chicken on a Sunday afternoon instantly takes me back to my grandmother's kitchen. I must have been twelve years old, standing on a step stool just to reach the counter, watching her work flour into that shaggy, golden coating. She never measured anything, just dipped her fingers in to taste and adjust, trusting her hands more than any written recipe. Those first crispy bites, steam rising from the tender meat inside, taught me that good cooking is worth the effort and the occasional grease splatter.
Last summer, my youngest daughter claimed she was scared of the frying process. We turned it into a team effort, her managing the flour station while I handled the hot oil. When she bit into that first tender and her eyes lit up, I knew this recipe would become part of her own cooking story someday. Now she asks for these tenders at least once a week, and I happily oblige.
Ingredients
- Chicken tenders: Using actual tenders saves prep time and cooks more evenly than breast meat you cut yourself
- Buttermilk: The acidity here is non-negotiable, it breaks down proteins for that melt in your mouth texture
- Garlic and onion powder: These two work together to create a savory backbone without any raw onion bite
- All-purpose flour: Gives you that classic crunch and just enough thickness to protect the meat inside
- Paprika: Adds a subtle sweetness and that gorgeous golden color everyone loves
- Baking powder: The secret ingredient for extra bubbly crunch in your coating
- Cayenne pepper: Just a hint wakes up the whole dish without overwhelming anyone
- Vegetable oil: Neutral flavor lets your seasoning blend shine through
Tired of Takeout? 🥡
Get 10 meals you can make faster than delivery arrives. Seriously.
One email. No spam. Unsubscribe anytime.
Instructions
- Start the marinade:
- Whisk buttermilk with salt, pepper, garlic powder, and onion powder until everything is dissolved. Add the chicken and turn pieces around until they're all coated. Cover the bowl and refrigerate for at least an hour, though overnight will give you the deepest flavor penetration.
- Mix your coating:
- Combine flour, paprika, salt, pepper, cayenne, and baking powder in a shallow dish. Use a fork or whisk to break up any clumps so the coating will go on evenly later.
- Get the oil ready:
- Pour oil into your deep skillet or Dutch oven until it's about two inches deep. Heat over medium-high until it reaches 175°C (350°F). If you do not have a thermometer, the oil is ready when a small pinch of flour sizzles immediately on contact.
- Coat the chicken:
- Lift chicken from the buttermilk, letting excess drip back into the bowl. Press each piece firmly into the flour mixture, flipping and pressing again to ensure an even coating. Shake gently to remove loose flour.
- Fry to golden perfection:
- Lower pieces carefully into the hot oil, working in batches so you do not crowd the pan. Fry for 4–5 minutes per side, turning once, until deep golden brown and crispy. The internal temperature should hit 75°C (165°F) when tested.
- Rest and serve:
- Transfer finished tenders to a paper towel-lined plate and let them rest for at least two minutes. This short wait helps the crust set up and keeps everything juicy inside.
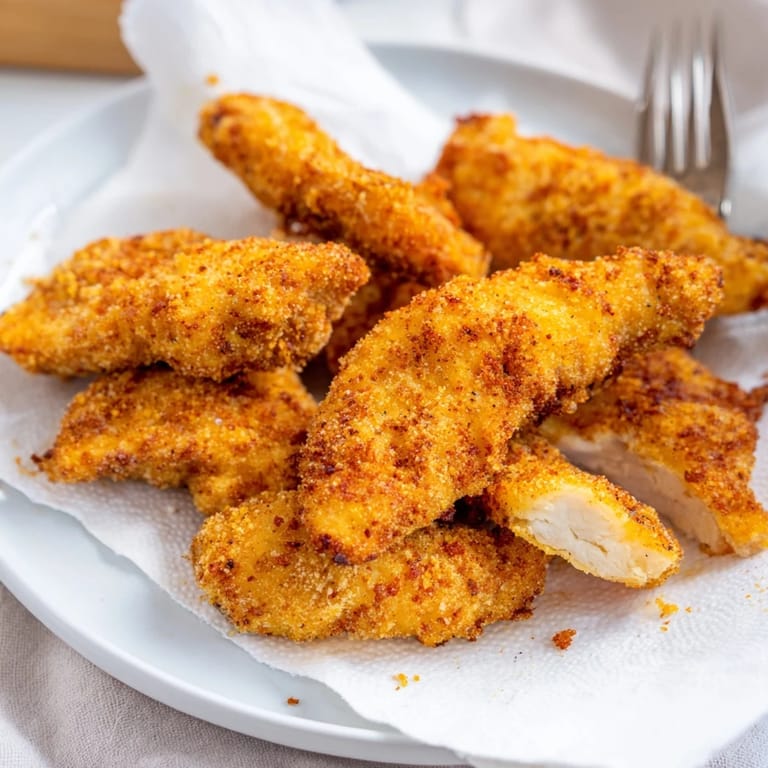 Save to Pinterest
 These tenders have become our go-to for birthday dinners and casual Friday nights alike. Something magical happens when everyone gathers around the stove, stealing samples while the last batch finishes. Food that brings people together is always the best kind.
Getting the Perfect Crunch
I have learned that pressing the flour firmly onto the chicken makes all the difference between coating that flakes off and coating that stays put. The baking powder creates tiny air bubbles in the crust, giving you that lighter crunch rather than a heavy, doughy shell. Most importantly, do not rush the resting period after frying, those two minutes let the crust firm up properly.
Mastering Your Frying Technique
Temperature control is everything when frying chicken. Too cold, and you will end up with greasy, soggy coating. Too hot, and the outside burns before the inside cooks through. I keep an instant-read thermometer near the stove and check the oil temperature between every batch. Consistent heat means consistent results.
Make It Your Own
The beauty of this recipe is how well it adapts to different tastes and occasions. Sometimes I add a little smoked paprika for a deeper flavor profile. Other times, I will mix some herbs into the flour for something completely different. Once you have the basic technique down, the variations are endless.
- Try swapping paprika for equal parts chili powder and cumin for a Tex-Mex twist
- Grated Parmesan mixed into the flour creates a savory, cheesy crust
- A splash of hot sauce in the buttermilk marinade builds heat throughout every bite
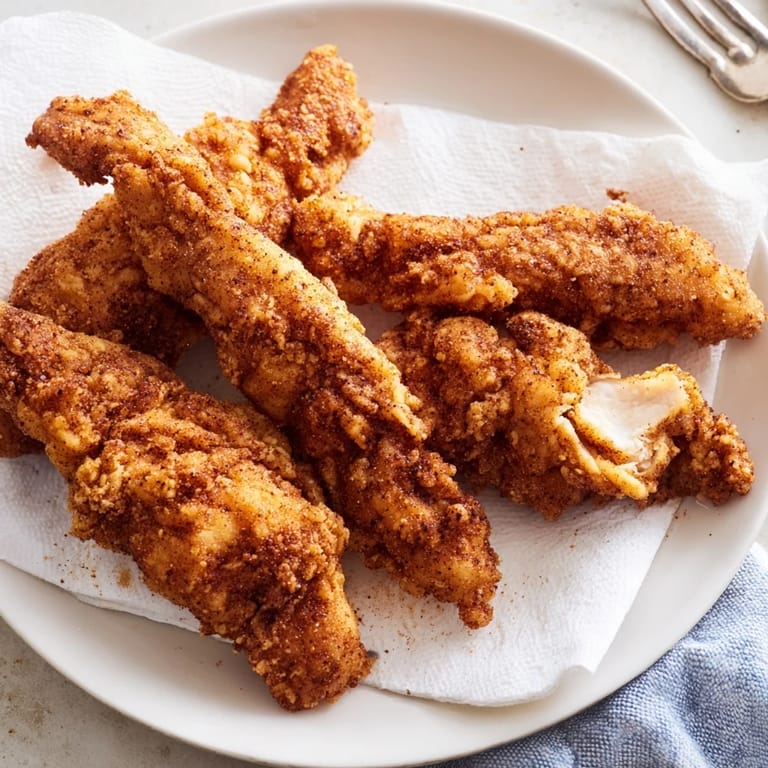 Save to Pinterest
 Hope these tenders find a regular spot in your dinner rotation and create their own kitchen memories along the way.
Recipe FAQs
- → How long should I marinate the chicken?
Marinate for at least 1 hour, but overnight marinating yields the most flavorful and tender results. The buttermilk works to break down proteins, keeping the meat juicy throughout cooking.
- → What temperature should the oil be?
Heat your oil to 175°C (350°F). A cooking thermometer is recommended for accuracy. This temperature ensures the coating crisps quickly while the chicken cooks through without burning.
- → Can I make these ahead of time?
While best served fresh, you can marinate the chicken up to 24 hours in advance. For reheating, place in a 200°C (400°F) oven for 10 minutes to restore crispiness. Avoid microwaving as it makes coating soggy.
- → How do I know when the chicken is done?
The tenders are ready when golden brown on all sides and the internal temperature reaches 75°C (165°F). This typically takes 4-5 minutes per side. Cut into one piece to verify the meat is opaque throughout.
- → What can I serve with these tenders?
Classic pairings include french fries, coleslaw, potato salad, or mac and cheese. For dipping sauces, honey mustard, ranch, buffalo sauce, or barbecue sauce work beautifully. A simple green salad balances the richness.
- → Can I bake instead of fry?
Yes, arrange coated tenders on a baking sheet sprayed with oil. Bake at 200°C (400°F) for 20-25 minutes, flipping halfway. The texture will be less crispy but still delicious.