 Save to Pinterest
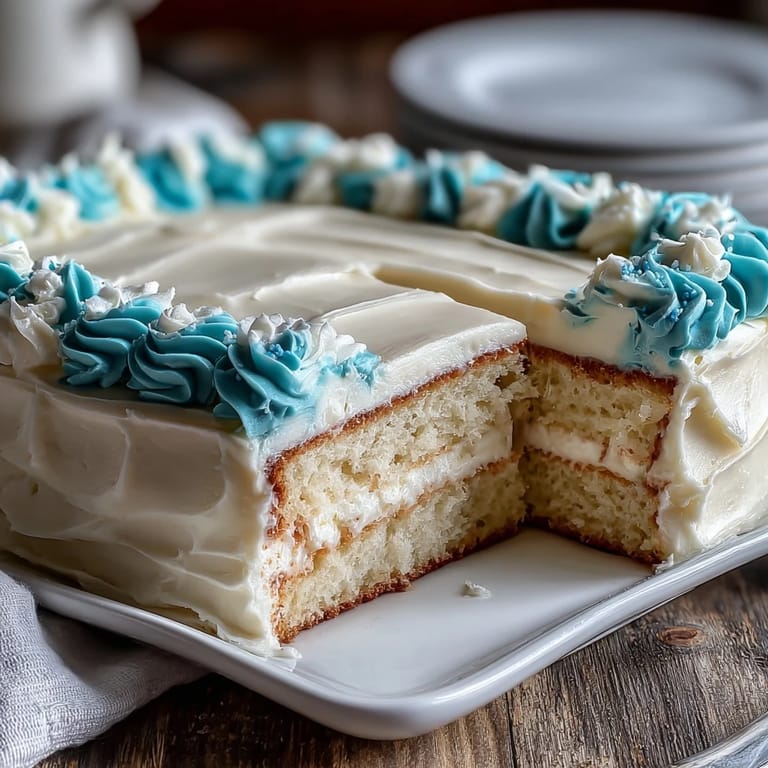
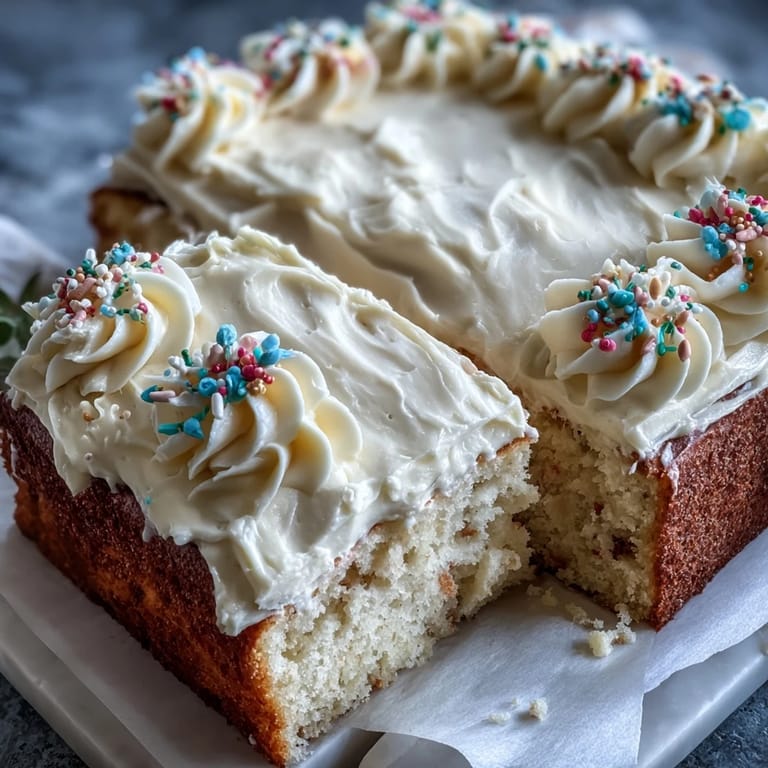
 There's something about baking a sheet cake for someone's milestone that makes you understand why people call it comfort food. My cousin texted me three weeks before graduation asking if I could make "something simple but special" for her party, and I found myself standing in the kitchen at 6 a.m. on cake day, measuring flour while the house was still quiet. This vanilla sheet cake became the answer because it's the kind of dessert that doesn't demand perfection—it just asks you to show up, mix, and celebrate someone's next chapter with buttercream and a little piping that says exactly who they are.
I'll never forget watching my cousin's face when she saw her name and class year piped in her school colors across that cake. Her friends gathered around it like it was the main event, and honestly, it kind of was—not because of fancy technique, but because someone took thirty minutes to frost something that mattered to her. That's when I realized this recipe isn't really about the cake at all; it's about showing someone you're proud of them in a way they can taste.
Ingredients
- All-purpose flour: Two and a half cups gives you structure without being dense; measure by spooning into your measuring cup rather than scooping straight from the bag, which can pack too much flour in.
- Baking powder: Two and a half teaspoons ensures even rise throughout the sheet pan, so don't skip sifting it into the flour.
- Salt: A half teaspoon brightens the vanilla and balances sweetness in every bite.
- Unsalted butter, softened: One cup for the cake batter should be soft enough to leave a slight fingerprint when you press it; this means it creams properly with sugar and won't make your cake dense or greasy.
- Granulated sugar: One and three-quarter cups creates that fluffy crumb you're after when beaten with butter for a full three minutes.
- Eggs, at room temperature: Four large eggs incorporate more smoothly and create a tender cake; pull them from the fridge thirty minutes before you start mixing.
- Vanilla extract: One tablespoon of pure vanilla (not imitation) gives the cake a warm, subtle flavor that doesn't taste like chemicals.
- Whole milk, at room temperature: One cup keeps the batter smooth and tender; cold milk can cause the butter to seize up and create a lumpy mess.
- Unsalted butter for frosting: One cup should be soft and spreadable, never melted or it won't hold the right texture for piping.
- Powdered sugar, sifted: Four cups must be sifted before you measure to avoid lumps that turn your buttercream grainy and thick.
- Milk for frosting: A quarter cup loosens the frosting to the right consistency for spreading and piping.
- Vanilla extract for frosting: Two teaspoons adds richness that makes buttercream taste less one-dimensional.
- Food coloring: Use gel colorants instead of liquid if you want vibrant school colors without watering down your frosting.
Tired of Takeout? 🥡
Get 10 meals you can make faster than delivery arrives. Seriously.
One email. No spam. Unsubscribe anytime.
Instructions
- Set your oven and prep your pan:
- Preheat to 350°F and grease a 9x13-inch sheet pan with butter or cooking spray, then line the bottom with parchment paper so your cake slides right out without sticking. This step feels like overkill until you're trying to flip a warm cake and grateful you did it.
- Make your dry mix:
- Whisk together flour, baking powder, and salt in a medium bowl, breaking up any little clumps in the baking powder. Set it aside and try not to taste the raw flour like you're five years old.
- Cream butter and sugar:
- Beat softened butter and sugar together for three full minutes until it's pale, fluffy, and looks like wet sand. You'll feel the mixer lighten as air gets folded in, which is exactly what you want.
- Add eggs one at a time:
- Crack each egg into a small bowl first, then add it to the butter mixture and beat well before adding the next one. This prevents accidentally mixing in shell bits and ensures even incorporation.
- Stir in vanilla:
- Mix in the vanilla extract and let the mixer run for another thirty seconds to distribute the flavor evenly through the batter.
- Alternate dry and wet ingredients:
- Add one-third of your flour mixture, beat until just combined, then add one-third of the milk, and repeat, ending with the final third of flour. This method keeps the batter smooth and prevents overmixing, which makes cakes tough and dry.
- Pour and bake:
- Spread the batter evenly into your prepared pan using a rubber spatula, smooth the top, and bake for thirty to thirty-five minutes until a toothpick inserted in the center comes out clean. The cake will smell buttery and vanilla-sweet when it's done, and the edges will pull slightly away from the sides of the pan.
- Cool completely:
- Let the cake rest in the pan on a wire rack for at least two hours before frosting, or it will melt the buttercream and look sad. This is the hardest part because you want to frost it immediately, but patience changes everything.
- Make the frosting:
- Beat softened butter in a large bowl until it's pale and creamy, then gradually add sifted powdered sugar, milk, vanilla, and salt. Beat for three to five minutes until it looks smooth, thick, and spreadable, like clouds you can actually touch.
- Tint with school colors:
- Divide the frosting into smaller bowls and add gel food coloring in whatever shades match the graduating class's school. A little color goes a long way, so add drop by drop and mix well to avoid streaks.
- Frost the cake:
- Spread an even layer of buttercream across the cooled cake using an offset spatula or the back of a spoon. Work in smooth, gentle strokes and don't worry about perfection—frosting is forgiving and small imperfections disappear under piping and sprinkles.
- Pipe the class year:
- Fill a piping bag with a small round tip and colored buttercream, then pipe Class of 2026 across the top of the cake in whatever arrangement feels natural to you. Practice on parchment paper first if you're nervous, or just go for it and let happy accidents become charm.
- Add final touches:
- Scatter sprinkles, edible pearls, or fresh berries around the piped text to make the cake feel finished and celebratory.
 Save to Pinterest
 The morning after the graduation party, my cousin sent me a photo of her friends eating second slices, laughing with frosting on their noses. She wrote, "They asked who made it and I told them it was you—that made it taste even better." That's the moment I understood why people bake for celebrations instead of ordering something fancy from a bakery.
Why This Cake Works for Celebrations
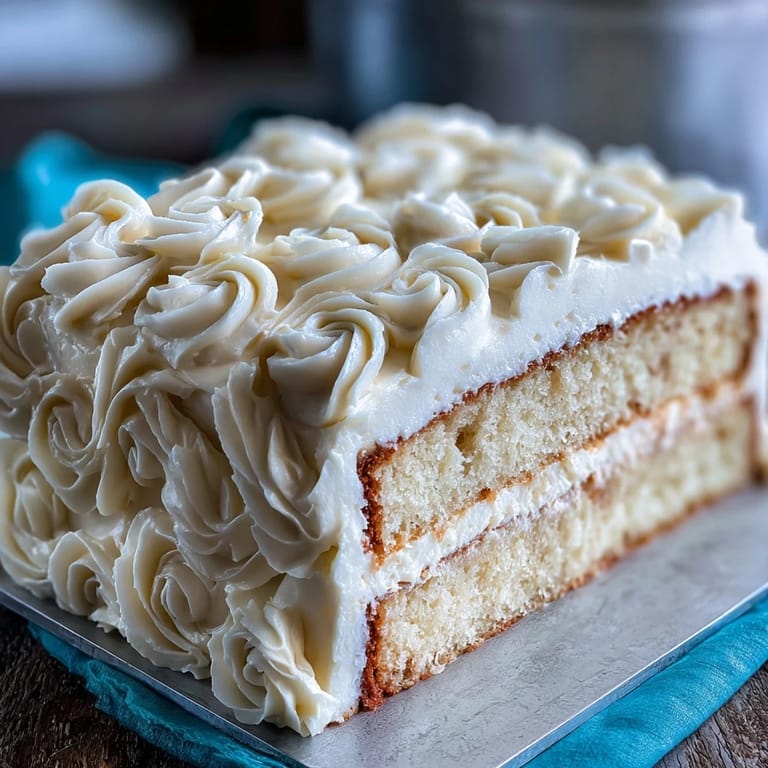
Sheet cakes are the unsung heroes of milestone parties because they feed a crowd without pretension or fussy plating. You can make it the day before, frost it in the morning, and pipe your message an hour before people arrive, which means you're actually present at the celebration instead of stress-baking in the kitchen. The vanilla is subtle enough that it doesn't fight with ice cream, punch, or whatever else is on the table, and the buttercream frosting is stable enough to hold up through a party without sliding off the sides.
Storage and Make-Ahead Tips
Bake the cake up to two days ahead and store it covered at room temperature, where the crumb stays moist and the flavors actually develop. If you frost it more than a few hours before serving, keep it in the refrigerator so the buttercream holds its shape through transport and sitting out on a table. The cake itself can be frozen unfrosted for up to a month—just wrap it well in plastic wrap and let it thaw at room temperature before frosting and decorating.
Flavor Variations and Customizations
The beauty of this recipe is how easily it bends to whatever the celebration calls for. Swap the vanilla for almond extract if you want something slightly different, add lemon zest to the batter for brightness, or mix a teaspoon of instant espresso powder into the frosting for depth. If you're feeding someone with dietary restrictions, substitute non-dairy milk and use dairy-free butter for a vegan version that honestly tastes just as good.
- Almond extract added to the batter gives the cake a subtle nod to something special without overwhelming the vanilla.
- Gel food coloring holds its vibrancy better than liquid coloring and won't thin out your buttercream.
- Practice piping on a sheet of parchment paper first if you're nervous—there's no pressure when it's practice, and your confidence shows in the final cake.
 Save to Pinterest
 Bake this cake whenever someone you know is stepping into something new, because it says everything that matters in butter, sugar, and piped words. It's the kind of dessert that makes celebrations taste like love.
Recipe FAQs
- → Can I substitute the milk with a non-dairy alternative?
Yes, you can replace whole milk with non-dairy options like almond or oat milk to fit dietary preferences. Ensure the substitute maintains similar consistency.
- → What is the best way to achieve smooth buttercream frosting?
Beat softened unsalted butter until creamy, then gradually add powdered sugar and milk. Beat for several minutes until light and fluffy for a smooth texture.
- → How do I prevent the cake from sticking to the pan?
Grease the pan thoroughly and line it with parchment paper to ensure easy removal once cooled.
- → Can I customize the colors of the piping?
Absolutely, use food coloring to tint the buttercream in any shade, perfect for matching school or party themes.
- → How long should the cake cool before frosting?
Allow the cake to cool completely on a wire rack to prevent melting the buttercream when applied.
- → Is refrigeration recommended for this cake?
You may refrigerate the frosted cake to extend freshness for up to five days, but bring it to room temperature before serving for best flavor.